Showing posts with label patterns. Show all posts

Monday, July 29, 2013

Illustration Friday - Jungle

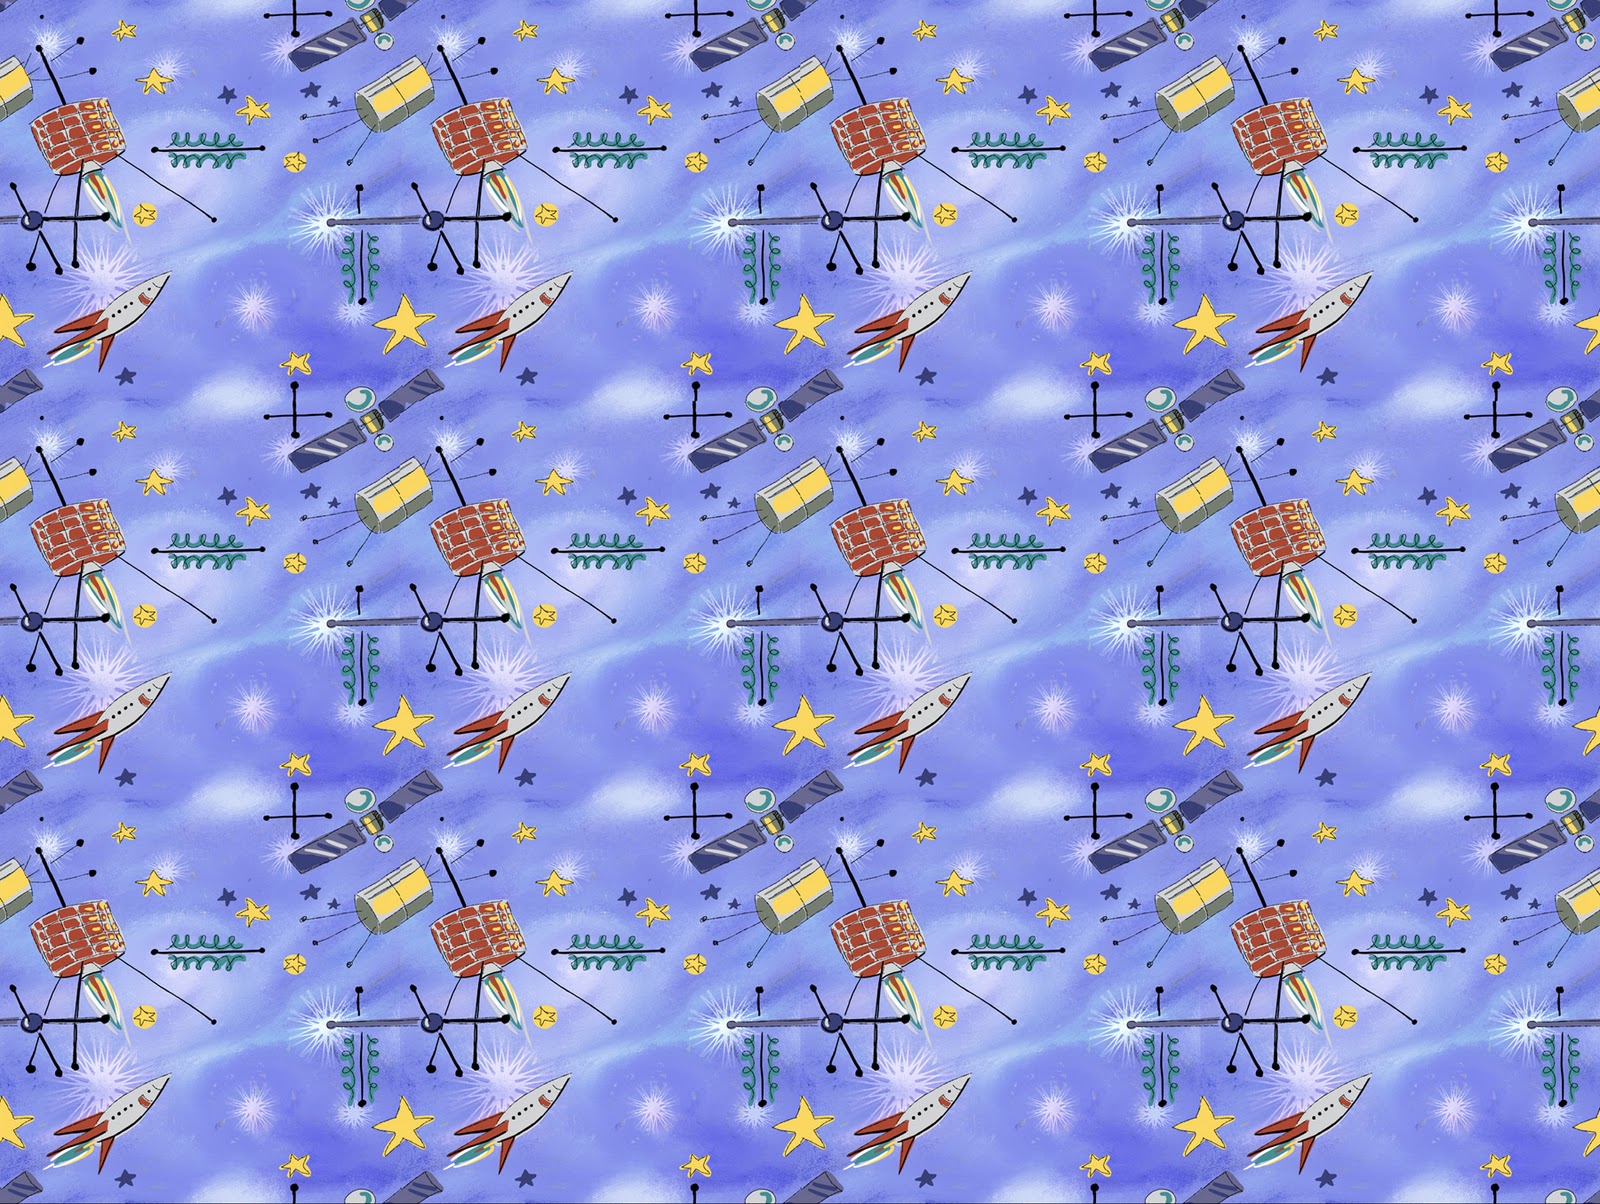
My illustration as a repeating pattern
This week's topic for Illustration Friday's challenge is "Jungle." Once again, I have submitted an older piece that I recently reworked into a repeating pattern.

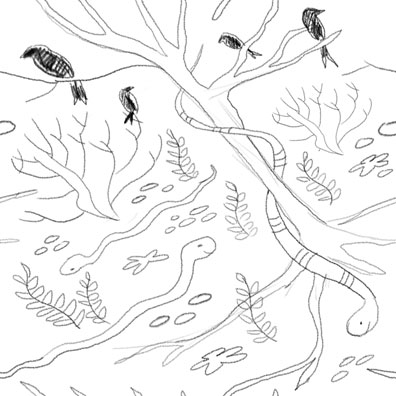
This illustration started out as a portfolio piece depicting various animals of northern South America's rain forests. From the start I challenged myself to show as many animals as possible (including a few birds and butterflies). After consulting a number of photographic reference books, I came up with a sketch that wove the animals together into a leafy background, joined together and encircled by vines. If you scroll down, you can see images showing the progression of the piece.

Some of the animals included in my design are: Brown Capuchin monkey, Two-toed Sloth, Silvery Marmoset, Brazillian Porcupine,  Greater Bulldog Bat, Murine Mouse Opossum, a Jaguar and her cub and a Quetzal. I was going for a sort of vintage children's book feel so I took a little liberty with how some of the animals look. In other words, I tried to make their faces a little cuter.

After completing the rough sketch, I began to block in some color.  I painted the image in Painter 11 and in order to be able to easily make changes in positioning and color, I used lots of separate layers. I continued to add layers and to block in colors and refine shapes, adding darks and lights as I went. I worked on this illustration on and off for several weeks during 2009 and 2010.

My original pencil sketch
In June of this year (2013) I resurrected the image and turned it into a repeating pattern for printing on fabric that I sell through my Spoonflower shop. Creating a repeating pattern out of a finished illustration was a bit of a challenge and I went through a lot of trial and error.  To do this, I opened the image in Painter 12 and captured the original image as a pattern.  When Painter asked me to name the pattern I was also able to select an offset.  Since I didn't want a straight across grid-looking pattern, I chose a 50% vertical offset which would stagger the image when it repeats. Once I had the pattern saved to the pattern library I went to the pattern menu and selected 'Check out pattern." This brought the pattern up as a native Painter rif file that had edges which would automatically tile.  In other words, when I painted off of the right edge, the same line would continue to paint in the correct location over on to the left edge. The same thing would happen for the top and bottom edges. Working in this mode is very memory intensive and it helps if you have a lot of RAM installed. I have quite a bit, but I still saw my brushes slow down when they approached one of the edges.

Every once in a while I would stop and save the image in two formats - as a native rif file so that the tiling would continue to be active when I reopened it in Painter, and as a photoshop file so that I could open it in Photoshop and quickly create a sheet where I duplicated the image several times to see how various elements along the edges were lining up.  When I was happy with how everything was lining up, I again saved the final version in Painter as a photoshop file. After opening it in Photoshop and making last minute adjustments on brightness and saturation levels, I saved the image as a jpeg for uploading to Spoonflower.
Initial color blocking with the sketch visible on another layer

Starting to add darks, more defined edges and smaller details
The finished illustration

Tuesday, July 23, 2013

Illustration Friday - Robot

My original, finished robot pattern
It's been a while since I've submitted anything for the Illustration Friday weekly challenge, but when I saw that this week's challenge was "Robot," I couldn't resist.  Coincidentally, I was working on an update of a robot pattern that I had originally designed for my Spoonflower shop. My aim was to create a fabric design with some kid-friendly, retro-looking robots.

My original pattern featured 5 different robots (plus one that was repeated within the basic repeat module). Below, is the sketch for their original design. To the right, is the finished color pattern showing how it repeats. To the finished version, I added some textures in Photoshop to help give the image the feel of vintage cloth.

If you scroll down to the bottom, you can see my updated version that uses the original robots, plus a couple of new ones.


The original sketch for my robot pattern

A test, using the sketch, to see how the pattern lined up when repeated

For the updated version, I added two more robots, and lots of little gears to fill in blank spaces. I also changed the color scheme.

My recent updated robot pattern where I added two new robots and lots of gears

A sheet showing how the new pattern repeats

Sunday, June 27, 2010

Illustration Friday - Satellite

Last week's word, 'Paisley' left lots of room for interpretation and a chance to explore pattern and color. This week, the word challenge was 'Satellite,' and I have to admit that I wasn't too excited when I opened my email and discovered it was the choice for the week. Nevertheless, I decided to go for it. At first, I bounced back and forth between two ideas - an outer space scene filled with satellites, and a more metaphorical scene depicting a beautiful flower being orbited by insects that circled the flower like little satellites. I think my second idea certainly has potential for a fun and colorful illustration, but I guess I just wasn't energized enough to pursue it (I think I will file that idea away though), so I went with my first, more obvious idea - a depiction of satellites in outer space. Since I've been working a lot with patterns lately, I decided to see what I could do with an outer space themed pattern.

I did a few sketches of satellites in my sketchbook and then went to my computer where I started trying to come up with an appropriate outer space background.  I tried lots of variations and had a difficult time coming up with something that I was happy with.  I started off with a very dark color scheme which I gradually developed into something much lighter.


I started adding some additional colors that I had planned to develop into gas clouds or nebulas, but they just never seemed to look right. I was getting frustrated fast.


Next I tried to see what would happen if I put the image through a posterize filter.  


After that I began to blend the colors, and to lighten them.


Then I decided to duplicate the layer a couple of times.  I tried some different layer blending modes, gave the whole thing a more overall blue color and then added some star-like growth patterns.  By this time, I was definitely getting closer to the image I had in my mind.


After lightening it even more, I finally had something I was happy with.

Here is the image after I started to do some freehand sketching of my satellites over the finished background.  Before starting to draw I had turned on the 'Define Pattern' mode so that anytime a line went off the edge, it would reappear on the opposite side of the drawing and would thus line up properly when tiled.  This of course, slowed down my pen a lot, which was frustrating. As you may notice, I originally had an extra satellite in the image, but I decided to take it out after doing a test of how the pattern looked when tiled.  The extra satellite, since it was a vertical object, tended to create a vertical stripe when the image was repeated so I decided to remove it.

Here is the final painted image after I removed the extra satellite.  You can see what the image looks like tiled as a pattern at the top of this post. 
Thanks for reading this, I hope you found it interesting.

Sunday, June 20, 2010

Illustration Friday - Paisley

This week's 'Illustration Friday' word, "Paisley" came as a surprise to me. Being an element of a certain type of pattern, it at first seemed like an unusual choice, but I've had patterns on my brain lately, so the challenge was a welcome one. Last year I did a couple of Peacock illustrations and while researching those beautiful birds I came across several Indian designs that integrated Peacocks and Paisley patterns. Thinking back on that, I decided I would do my interpretation of a 'Paisley Bird' but I decided I would do it in a children's book illustration style. Before starting, I knew I wanted my illustration to be fanciful and colorful and to be filled with other birds as well.

As I sketched (see image at left), I decided that I would make my Paisley bird a somewhat arrogant snob. I tried to convey this through his pose - one leg raised in a regal stance and his eyes disdainfully closed. I always like to add some humor when possible, so I decided I would have some action going on behind the proud bird's back - unbeknownst to him, another bird is stealing one of his prized tail feathers.

After completing my digital pencil sketch, I started off the painting by choosing a color palette. You can see the original palette that I started off with in this screen shot (click on it to see it enlarged).


After working on it for a while, I decided that the colors for the bird were too dark and I didn't like the magenta colors in combination with the blues, so I began experimenting with new color combinations.  First, I changed the hue and lightened the bird's body and the dark background parts of his tail feathers.

Next, I began to play with the pattern shapes that were inside each tail feather. In the image on the right, you can see my first experiment. It was getting closer to what I envisioned, but now I didn't like the lightness of the small comma shapes at the end of each feather.

After a little more experimentation, I was satisfied with the coloring. My next step was to outline the drawing. I used one of Painter's leaky pens (that I had tweaked in the Brush Designer palette) to outline the image.  Before finishing, I added some texture in the Paisley bird's feathers and additonal flowers on the tree, including one for the little duckling to sniff in the lower left of the image. Also, on a layer beneath the feathers, I added some airbrushed shadows to make the paisley tail feathers 'pop' out a little.

Tuesday, June 01, 2010

Illustration Friday - Slither

I've always had an interest in patterns - everything from vintage fabrics and wallpapers to contemporary wrapping papers, fascinates me.  I particularly love patterns where you need to look hard to find the repeat. I recently purchased a book from Taschen publishers titled Decorative Art 50s and I've been pouring over the section on textiles and wallpapers studying the various depictions of mid-century modern fabrics.  


When I learned that this week's word for "Illustration Friday," was 'Slither,' I decided to try and do something different - I would attempt to interpret the word by creating a pattern. After some initial trial and error I finally discovered that in Corel Painter, by going to the Pattern palette and selecting 'Define Pattern,' the program would tile what ever it was that I was drawing. For example - any shape that I drew that ran off of the bottom edge, would reappear in the appropriate spot at the top edge so that the image would automatically be lined up for tiling (I still had trouble getting Painter to save my patterns, but that's another story). After creating a few sketches, I would save these as tiff files and then place them in an Adobe Illustrator file where after transforming them into vector shapes (using the 'Live Trace' option) they could easily be turned into pattern swatches that could be used for filling shapes.  I still have some problems with seams showing, but that's a problem I'm sure I can figure out.  Anyway, I did a few different designs using snakes (to go with the 'slither' theme) and here are my favorites.


First, here is one of the original digital pencil sketches.


Next, is a quick test in Illustrator to see how the elements look in a pattern fill. I was really happy with the way this looked because I felt that the repeat wasn't too obvious.


Here is a colored version, where for some reason, the repeat is more noticeable - you can see a grid formation formed by each element block.


Here are a couple of other experiments that I did, also using snakes as a motif.